This homemade moisturizer for dry skin takes 5 minutes, only uses 3 ingredients, lasts for a long time out of the fridge and is hard to mess up!
Quick, easy and fool proof
I have been trying to get healthier for the last 3 years but it’s a slow process as everything takes so long to research, save up for and get into long lasting habits.
I am getting there slowly with a lot of things though, and making my own cosmetics has been next on my to do list for a long time.
I became chemically sensitive when I had my health problems 3 years ago and anything I put on my face literally burned it, so I went organic with my products and that seemed to be good enough at that time.
** Please note that this post may contain affiliate links which means that I can receive a small payment if you make a purchase through my links.
However, at the start of my pregnancy, I would wash my hair with my normal organic shampoo and then spend the rest of the day scratching my back where my hair hung down.
This happened during my first pregnancy too but for some reason, I had no idea it was my shampoo.
So I decided I had to start making my own personal care products starting with shampoo, and more recently I have made this amazing moisturizer.
I have been searching for a good moisturizer recipe for such a long time but they all seemed to take too long, too complicated with measuring temperatures, water separating from oil, expensive ingredients list, fancy equipment needed and bad reviews.
So I finally found this recipe which I’ve changed to make it quicker and easier to suit my busy lifestyle. I know it’s a recipe I’m going to return to time and time again.
* UPDATE: I’ve been making and using this moisturizer for well over a year and use it for EVERYTHING! I have pots of this in almost every room of my house now.
I’m going to be totally honest with you on this blog and tell you the pros and the cons as nothing is ever perfect, but I will try and bring you articles which will help your overall health, so overall I think this is an amazing recipe. Here are some great points about this moisturizer and not so great points so you can make your own mind up whether you should give it a try:
Homemade Moisturizer Benefits
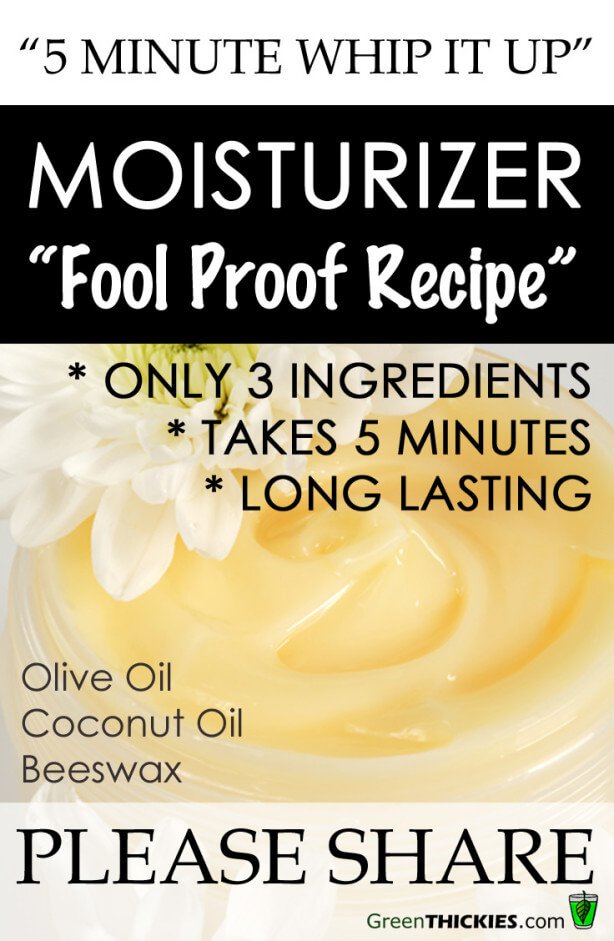
- Only has 3 easy to find ingredients, that you may already have
- Seems to be foolproof, very easy to follow instructions
- Great for dry skin. This is a good moisturizer as it creates a barrier that keeps your existing hydration within your body and protects you from drying effects of hand washing. I can still feel it on my skin after I’ve washed my hands. I wash my hands so many times a day that this is very important to me, as my hands are the only part of my body that are dry due to the constant washing.
- Lasts for a long time out of the fridge: As this moisturizer contains no water you can store it out of the fridge and it will last for ages. This was important to me so I can keep a small pot in each bathroom and in the kitchen.
- It’s always soft and doesn’t have to be melted before use.
- Absorbs fairly quickly into the skin
- Great for nappy rash: My baby’s chronic nappy rash has completely cleared up after using this. I loved coconut oil but it never lasted long enough or created a barrier on the skin to protect it.
- Only need a tiny amount so this will last for ages.
- Recipe makes a small quantity so you don’t waste your ingredients. You don’t need a lot as it’s so concentrated.
- It’s a great base for adding your own favorite ingredients to if you want to experiment.
- Luxurious, thick and creamy and great for any part of the body. I have also used this as a lip balm.
- You can use this cream as a base to add your favorite essential oils. (Learn how to get my favourite therapeutic essential oils at wholesale prices here.)
Homemade Moisturizer Drawbacks
- When you first apply it, it can feel a bit greasy, and you need to rub it in but it usually absorbs within a minute unless you’ve used too much. You only need to use a tiny amount, but you soon get used to the amount to take.
- It’s so thick I don’t think you could use this with a hand pump which I used to use to save time. However, I have put mine in a jar with a flip top lid which is almost as fast to get access to. I would suggest putting this in a wide shallow container as you will need to dip your finger into it. It’s not runny so you can’t pour it out of a tall thin bottle. I recommend a jar like this.
- Depending on how strong your olive oil
is, it might smell a bit of olive oil but you can disguise this by adding some essential oils to the moisturizer. My olive oil isn’t too strong smelling anyway and I love to add few drops of either orange or Joy essential oil which smells amazing. (Learn how to get my favorite therapeutic essential oils at wholesale prices here.)
You just need to use a tiny little dot of this for your hands or face as it is so rich. Rub it in for a minute and your skin will be able to lock in it’s moisture. Store this out of the fridge in a wide, shallow jar or container or a few very small tubs. It will make about a Cup’s worth.
Homemade Moisturizer for dry skin Recipe
Ingredients
- 1/2 Cup Olive Oil (or Almond or other oil)
- 1/2 Cup Coconut Oil (If you don’t have any, you can order some on Amazon)
- 1/4 Cup Beeswax Pellets (You can buy some here on Amazon if you don’t have any)
- Optional 10 drops of Essential Oils. I love to use Orange or Joy essential oils. (Learn how to get my favorite therapeutic essential oils at wholesale prices here.)
Directions
- Combine the Olive Oil, Coconut Oil and Beeswax into a heatproof jug
or large jar.
- Put the jug/jar in a saucepan and fill the pan with water until it comes 3/4 of the way up the jug/jar.
- Put it on a low heat on the stove. Heat and stir it until it has melted (About 5 minutes)
- Now empty out the hot water from the pan and replace it with cold water to the same level. Put the jug/jar back into the pan. (This helps to cool the moisturizer down quickly – I was impatient and this worked very well for me)
- Add your essential oil to the jug/jar now if you are using.
- Now to finish this quickly, use an electric whisk to quickly whip the ingredients into a moisturizer. OR if you don’t have a whisk you can use a fork and give it a good stir. You may have to stir this every 5 minutes until the texture is thick and creamy.
I couldn’t actually believe how easy this was and how well it worked. It saves me a fortune, hardly takes any time at all and I know I’m not putting loads of toxic chemicals into my skin now. Perfect! I hope you enjoy it as much as I do.
Have you ever made your own moisturizer?
I know you may not have time to digest all this right now, so I wanted to give you a handy print out of this blog post so you can stick it on your fridge to help you on your journey to optimal health.
Click here to download your FREE PDF of this blog post now.
Pin this by clicking here
Are you struggling to lose weight and keep it off?
Are you feeling run down and are struggling with ever increasing health problems?
Green Thickies new 7 Day Detox will help you drop a dress size, improve your skin, your energy will soar and you are going to be so in control and proud of yourself.
You won't go hungry on this diet ... And better yet - it actually requires minimal time in the kitchen.
Get results like this...
Hi Katherine,I just wanted to tell you I completed the 7 day detox and I feel so great.
I have lost 6lbs, do not feel like I need more my morning coffee, the flushing of my facial skin from rosacea has dramatically reduced and I am so excited to wake up each morning and make a green thickie for breakfast!!
I am a stay at-home, homeschooling momma of 3 littles and at times so busy I would forget to feed myself!
I would go most of the day without eating and then snack on random things.
I gained 60 pounds the last 6 years during pregnancy.
I have lost 30lbs but recently plateaued and have felt so frustrated.
I’ve tried everything from paleo and keto to the point where I didn’t know what to eat or how much and felt like even eating fruit was bad for me which thankfully it’s not!
What a game changer for me. Thank you for sharing a simple but effective program.
I’m so excited to continue another week with this plan! Thankful Stephanie
Use this special voucher to get $10 off: WEBSITE (Add discount code WEBSITE at the checkout)
Click here to get started

Read Katherine's inspiring comeback story, From Fat and Fatigued To Lean and Loving Life In 4 Months.
Send Katherine a message on Instagram, Facebook, or email here.
- How To Use Bananas For Sleep (Bedtime Banana Elixir Recipe) - January 14, 2022
- Why You Can’t Eat Your 5 A Day (And The EASY SOLUTION) - November 29, 2021
- 10 Second Banana Ice Cream Recipe (Using Only Bananas) - November 1, 2020

 Hi, I’m Katherine. I lost 56 pounds and recovered from Chronic Fatigue Syndrome by replacing meals with Green Thickies – my original smoothie concept.
Tina Mills says
I was a bit skeptical when I first came across this Moisturizer Recipe. But I tried it and not only does it work, my fine lines are disappearing. My landlady said that my wrinkles were disappearing. So I am no longer a skeptic, but A Firm Believer. This stuff rocks!!!
Katherine Natalia @ Green Thickies says
Wow! That’s amazing Tina. Thank you for sharing that :)
Sandra says
I would love to get your shampoo recipe.
Suzy Harris says
Hi. I come across your website & can’t wait to make the moisturiser (just have to source some beeswax). Also 3 months ago I signed up for Good Living Oils & read that you use the Joy essential oil so will use this for my first batch. I live remote Aus so hope I can get good quality beeswax nearby. I am really enjoying your website. Thanks very much! From Suzy.
Fina says
Wow, I just made a pot using Sweet Almond Oil instead of Olive Oil and adding a few drops of Vitamin E Oil to the mix as my daughter suffers from severe eczema. This an amazing moisturiser, it looks and feels great on the skin. Alot does go along way which means at the cost of making it $8.65 its also an absolute bargain. It feels like a high end moisturiser does. This was my first attempt at any type of homemade skincare product and now I don’t think I will ever go back to buying store products again. Thank you so much for sharing, Fina Xx
Editor says
That is fantastic! Thank you for sharing.
Mrs. Grant says
Thanks. I have very dry and itchy skin when the climate change to cool. I used Olive oil and Tea tree oil and beeswax. My skin feels wonderful and soft and smooth. Thank you again. Now my skin don’t feel itchy and very dry. God bless you and thanks.
Jude says
Do you let this cool to a solid state before using the beater? Thanks!
Editor says
Hi Jude, not quite solid but about the consistency of room temperature butter.
Rita says
Is it okay if I use it on my hair, my hair is so dry.
Editor says
Hello, yes it works well as a hair mask, however it will need shampooing out otherwise your hair will look greasy. Personally, I miss out the beeswax and prefer essential oils like tea-tree or lavender for my hair.
Reuilly says
Hi! Thanks for the awesome recipe :) Cant wait to try it out… I have a question- as there is no preservative, how long does this lotion last ?
Editor says
Hi, honestly, I don’t know, I’ve had pots for months and they don’t go off. I’m guessing it would be the earliest use by date on the ingredients (ie. the olive oil) but it does seem to last forever.
Ritu says
Can you use it on face fordry skin as well as combination skin?
Editor says
Yes it is fabulous for dry skin. x
Chris says
i heard bee wax clot skin pores. Can I leave it out and still get a creamy moisturizer?
Editor says
Hi Chris, it won’t be exactly the same and may need to be kept in the fridge (or at least cool) but yes you will still get an excellent moisturiser without the beeswax.
BB_201 says
what if you don’t have beeswax?
Marion G. Cheney says
Can I add Neem oil to your moisturizer?
Thank you!
LeeAnn Eng says
Hi there! I have a few questions. First, how much does 1 batch make? When choosing the olive oil to make lotion does it matter on the grade of oil? For instance is there a difference in the quality of lotion based of the cost of the olive oil or extra virgin olive oil? Inexpensive vs Expensive? And my husband is allergic to coconut oil, what would you recommend to replace that with?
Thank You :)
marlo says
hi there, if i use the jar that you recommend, how will the whisk fit into the jar? my whisk has two prongs on it… i also have a hand-immersion blender. not sure if that will work.
Katherine Natalia @ Green Thickies says
You can use any container to whisk it.
cam says
Originally when I cooled my cream, it was wonderful with a nice texture. But now at room temperature its basically a liquid ? Where did I go wrong?
Shireen says
I made this today and it turned out perfect! Do I need to put this in the freezer? Thank you so much for sharing this.
Katherine Natalia @ Green Thickies says
Yay! No you can keep it out of the fridge. :)
Theresa says
Can I use shea butter in place of the beeswax?
Theresa says
Can I replace the beeswax with shea butter? It doesn’t seem to be absorbing in my skin.
Katherine Natalia @ Green Thickies says
The beeswax has a different consistency to Shea butter but you can give it a try.
Veronica Williams says
HI, I tried it yesterday, followed the directions perfectly, at least I measured everything right. But it didn’t get “whippy” it stayed almost in a liquid state. I had to add other lotion and keep using electric mixer just so it would be kind of usable. Could you give me some tips please
Katherine Natalia @ Green Thickies says
Sorry this happened. It’s always worked well for me before so it’s very hard for me to say. You could try putting it in the fridge or freezer to firm up again before whipping it. Perhaps it is too warm.
Marisa says
Hi Katherine thanks for this great recipe. I used jojoba and almond instead of olive oil as i have a combination skin. My skin feels great in the morning when i wake up but during the day it feels dry and itchy around my mouth. Do you maybe know why its doing this?
Katherine Natalia @ Green Thickies says
It is really hard to tell as it could be the type of oil but again it could be an allergic reaction to food or something else.